Moneris Go Restaurant - Data setup - nesting accordians
Set up your restaurant in the Go Restaurant portal

Written by Bob Shairulla
Updated at May 7th, 2025
Table of Contents
Overview
Data setup activities are all performed in the Moneris Go Restaurant portal and should be completed before you use the Moneris Go Restaurant app to interact with your guests.
Required steps
Sign into the Go Restaurant portal and perform the data setup tasks in the order shown below. This will ensure that tasks will be accomplished as efficiently as possible.
- 1. Set up employee roles and profiles.
- 2. Create one or more tax profiles. This step is mandatory in order to collect sales taxes.
- 3. Create your menu. This includes order types, menu categories, food modifiers, and the individual menu items.
- 4. Set up one or more kitchens. This includes creating kitchen profiles and assigning a kitchen to each menu category.
- 5. Return to Getting started with Moneris Go restaurant POS to continue setting up the Go Restaurant solution. This includes:
- installing apps
- setting up your payment terminal
- installing hardware including the receipt printer, cash drawer, and kitchen printer
- assigning a kitchen printer to each kitchen
Employee setup
In the Moneris Go Restaurant portal, follow these steps to create employee roles, and then create employee profiles to enable your staff to use the solution. In this section you'll learn how to:
- create employee roles
- create employee profiles
- password requirements for the portal
- edit employee roles
- edit employee profiles
- delete employee roles
- delete employee profiles
- export employee profiles
Create employee roles - can i add an accordian inside another accordian? yes!
Employee roles determine the level of access that your employees will have for Moneris Go Restaurant. You need to assign a role to each employee who will be interacting with the portal, Moneris Go Restaurant POS app, and/or the Kitchen Display System (KDS) app. Usually these roles are tied to a job title such as Manager, Cashier, Counter staff, etc. If these existing roles do not meet the needs of your restaurant, follow the directions below to define new employee roles.
Notes:
- Moneris Go Restaurant comes pre-loaded with a few common roles, including the Super Administrator role, which has the ability to do everything within the system. The Super Administrator role cannot be deleted or edited.
- Fields marked with an asterisk (*) are mandatory.
- 1. In the portal, click Profiles on the main menu.
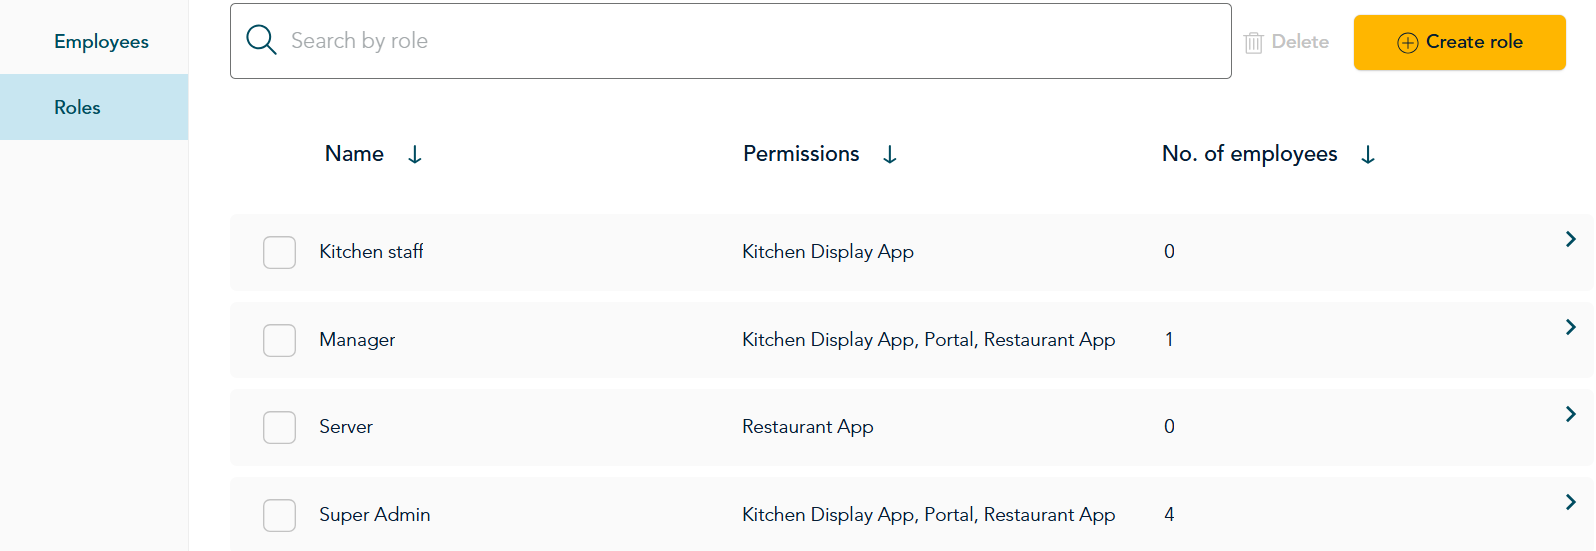
- 2. In the Employees screen, click Roles.
- 3. In the Roles screen, click the Create role button. The New role screen appears.
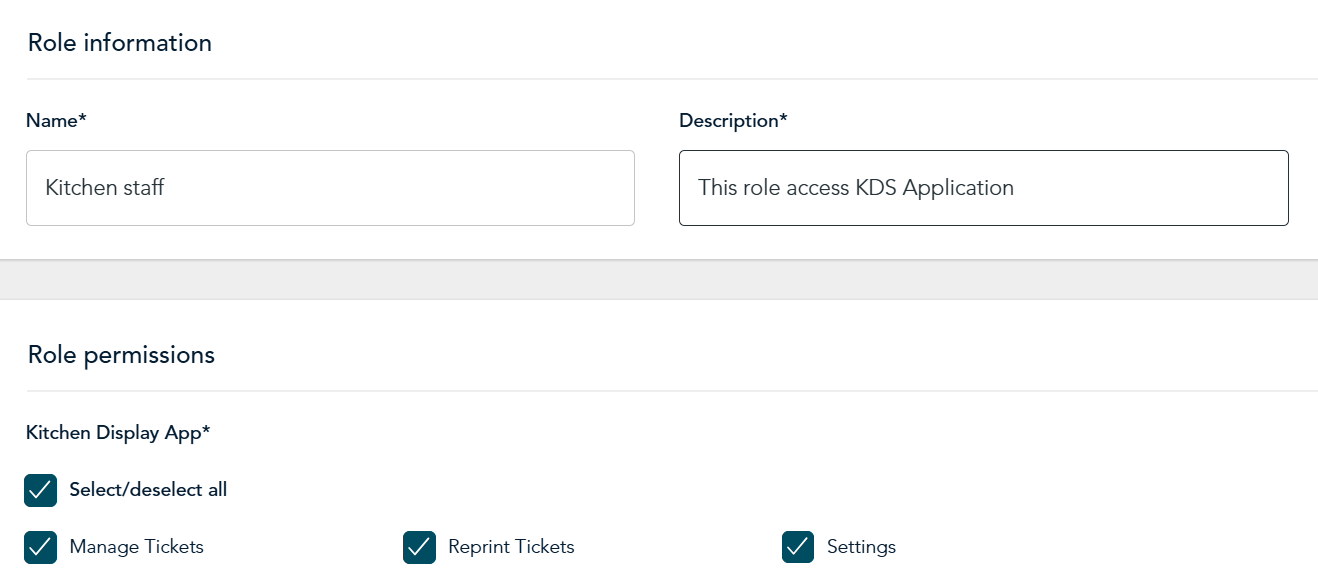
- 4. Enter the role’s name into the Name field.
- 5. Enter the role’s description into the Description field.
- 6. Select the role’s level of System access as follows:
- Place a checkmark in the Portal checkbox if you want members of this role to have access to the Moneris Go Restaurant portal.
- Place a checkmark in the Restaurant App checkbox if you want members of this role to access the Moneris Go Restaurant point of sale (POS) app.
- Place a checkmark in the Kitchen Display App checkbox if you want members of this role to access the Kitchen Display System (KDS) app on a tablet in the kitchen.
Note: Leaving a box unchecked means members of the role will not be able to access this particular system when signing in with their credentials.
- In the Role permissions section, place checkmarks in the checkboxes for permissions you want to allow.
Create employee profiles
Create a profile for each member of your staff who will be interacting with the Moneris Go Restaurant POS app, the Kitchen Display System (KDS) app, or the portal.
Note: Fields marked with an asterisk (*) are mandatory.
1. In the Go Restaurant portal, click Profiles on the main menu.
2. In the Employees screen, ensure the Employees tab is selected on the left side of the screen. The list of employees appears.
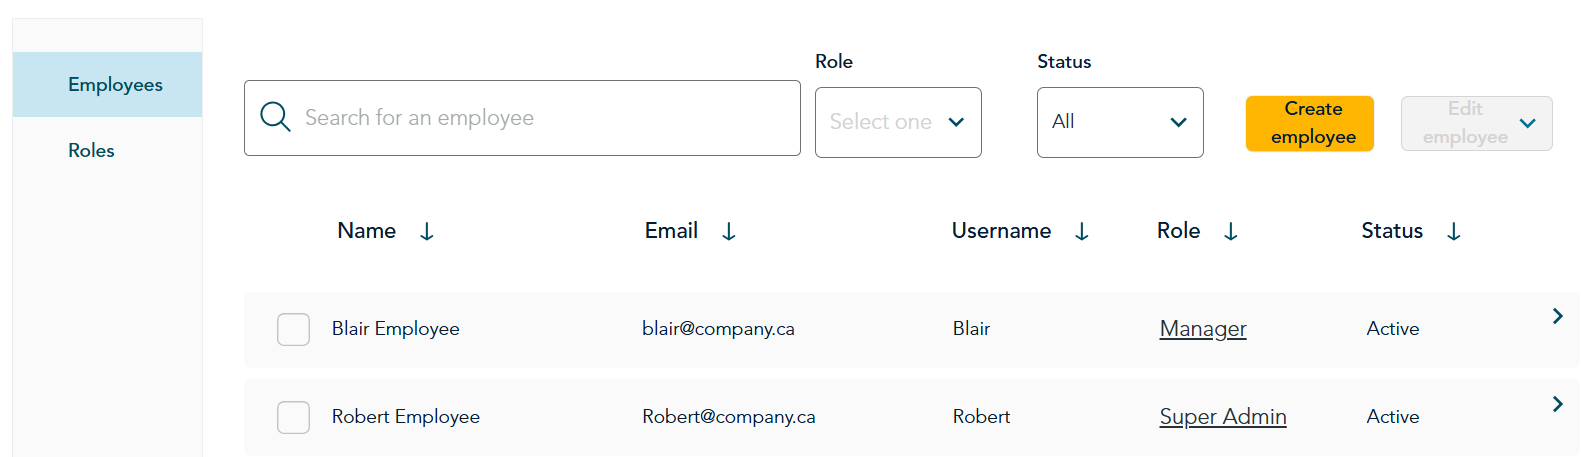
3. Click the Create employee button. The New employee screen appears.
4. Enter the first and last name of the employee in the provided fields.
5. Click the Role drop-down menu and select the role this employee performs in your business.
Note: The roles that appear in the drop-down menu correspond to the roles you created or the pre-set roles. If you do not see this employee’s role in the list, click Cancel and create the role.
IMPORTANT: Some roles selected will require a user to enter login credentials to login to the apps or the portal, while other roles do not have access to the apps or portal.
If the role has access to the portal, enter an email address for the employee. Refer to step 7.
If the role has access to the apps, enter a username and PIN for the employee. Refer to step 8.
If the role has access to both the portal and the apps, enter both an email address as well as a username and PIN. Start at step 7.
6. Leave the Status drop-down menu set to Active.
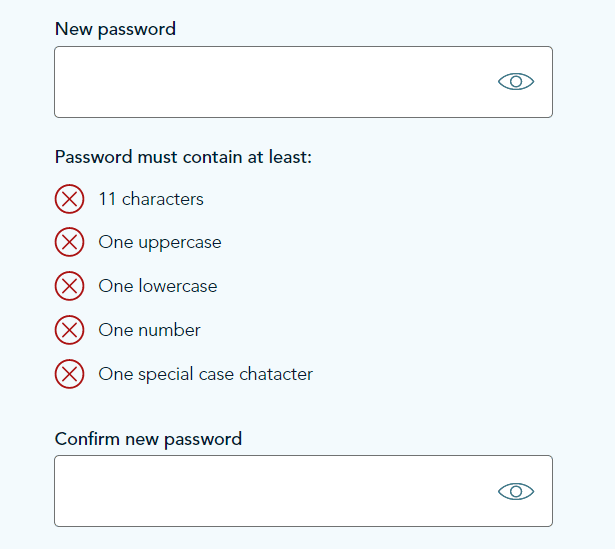
7. In the Portal credentials section, enter the employee’s email address into the Email field. This email address will be used to send the employee a message with a link to create a password. The password requirements will appear on screen as a checklist during password creation.
Notes:
-
- If you click Reset Password, the employee will also receive an email message that allows them to set a new password.
- An employee can reset their own password at any time by clicking on the Forgot password link on the sign in page.
8. In the App Credentials area of the page, click inside the Username field and enter a username for this employee.
9. Click inside the PIN field and enter a 6-digit PIN for this employee.
Notes:
-
- This PIN must be unique to this employee.
- This PIN enables the employee to sign into the Go Restaurant POS app and/or the KDS app.
10. (Optional) In the Additional information section, fill out the additional information about the employee, including their Employee ID, address, and contact information.
Note: The Employee ID can match the Username you entered in step 9 above.
11. Click the Save button in the top right corner of the screen. The Employees screen reappears, with the new staff member visible.
12. Repeat steps 3 – 11 to create additional staff profiles as needed.
Password requirements for the portal
Passwords for accessing the portal must have at least 11 characters, including:
One uppercase letter and one lowercase letter
At least one number
At least one non-alphanumeric character e.g., $, @, !, etc.
Must not be the same as the previous 24 passwords used for the system.
Edit employee roles
Follow the directions below to edit an employee role.
Note: Moneris recommends not editing employee roles while your business is open and serving guests. Save this work for outside of business hours.
- 1. In the portal, click Profiles on the main menu.
- 2. In the Profiles screen, click Employees.
- 3. In the Employees screen, click Roles.
- 4. In the Roles screen, click the row containing the role that you wish to edit. The Edit role screen appears.
- 5. Make your changes to the role as necessary, then click Save when finished. The Roles screen reappears.
Kitchen setup
Kitchen setup
Moneris Go Restaurant provides you with the ability to create multiple kitchen profiles to better organize order routing. A kitchen is a preparation station for food or drinks, it does not have to be an entire room. Whether your restaurant uses a single kitchen behind the counter or several kitchens preparing different aspects of a meal, use the information in this section to manage your kitchen profiles.
In this section you'll learn how to:
- create kitchen profiles
- assign a kitchen to each menu category
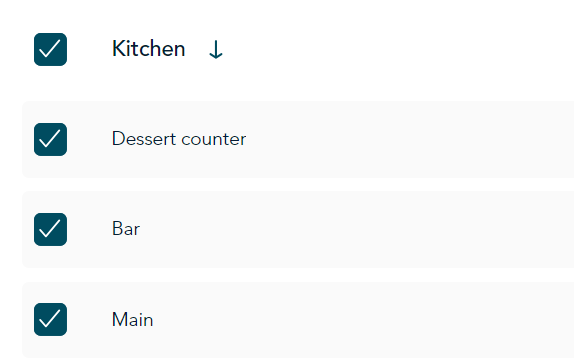
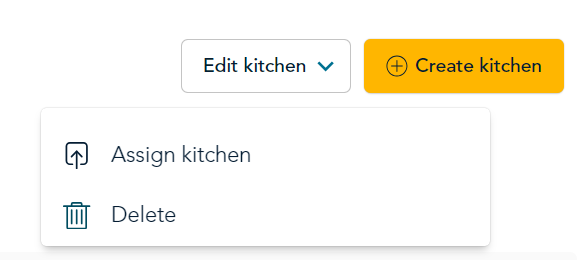
Create kitchen stations
steps for creating a ktichen station.
Assign a kitchen station to each menu category
here are some steps
 |
|
 |
|
Return to the Data set up overview.